Beautiful Portrait Reborn Doll based on Aubrey by Denise Pratt!
0 Comments
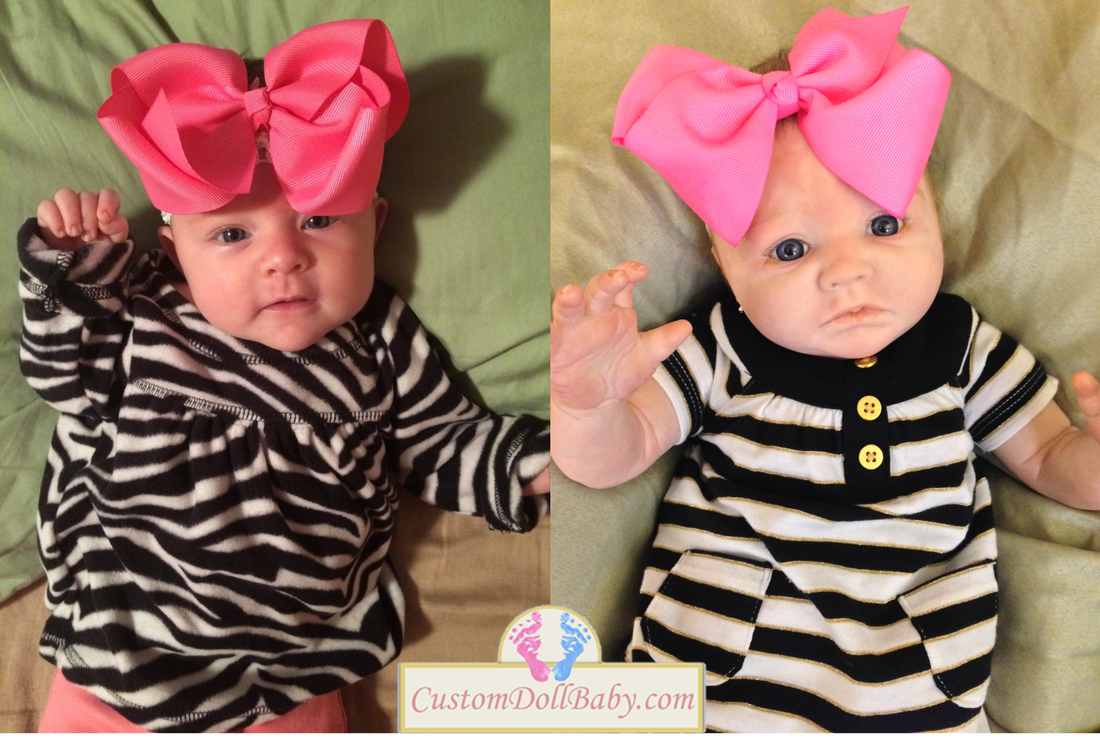
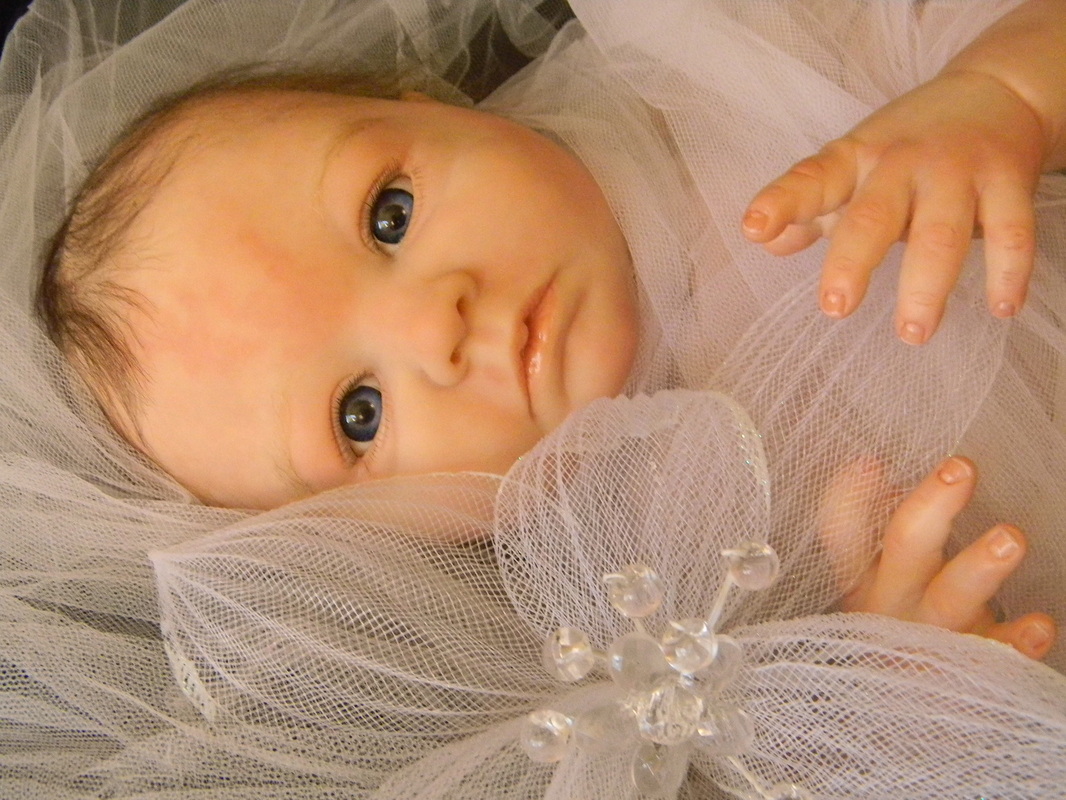
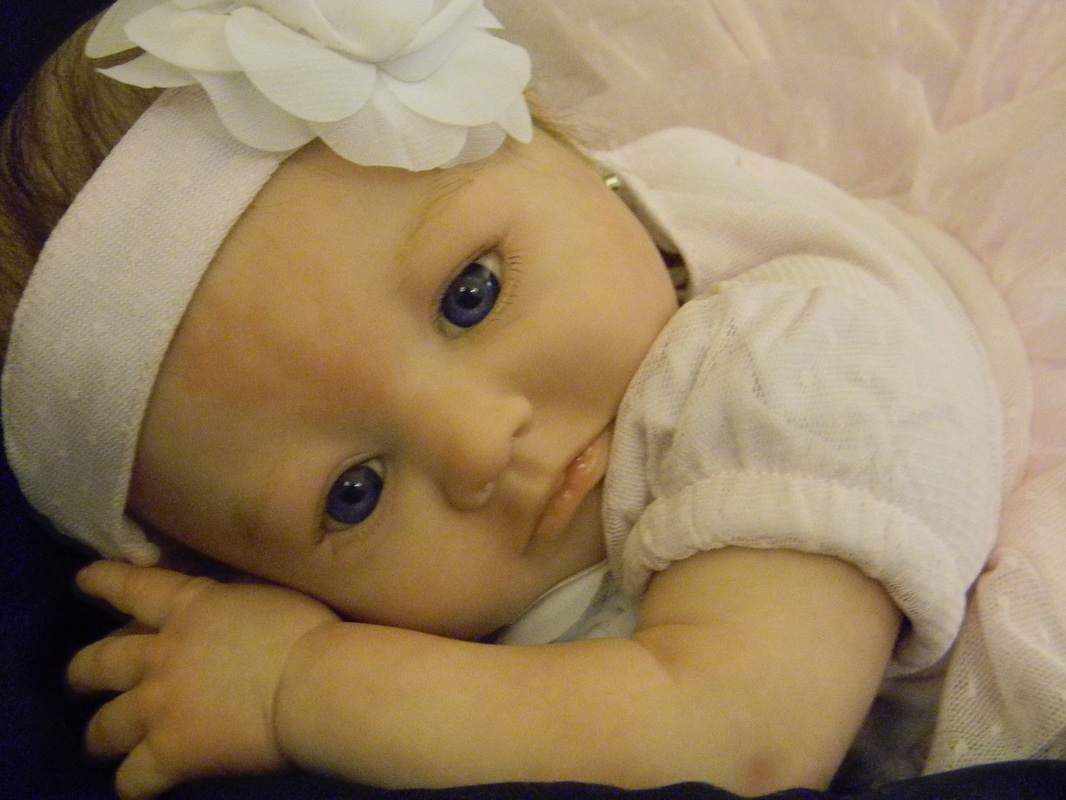
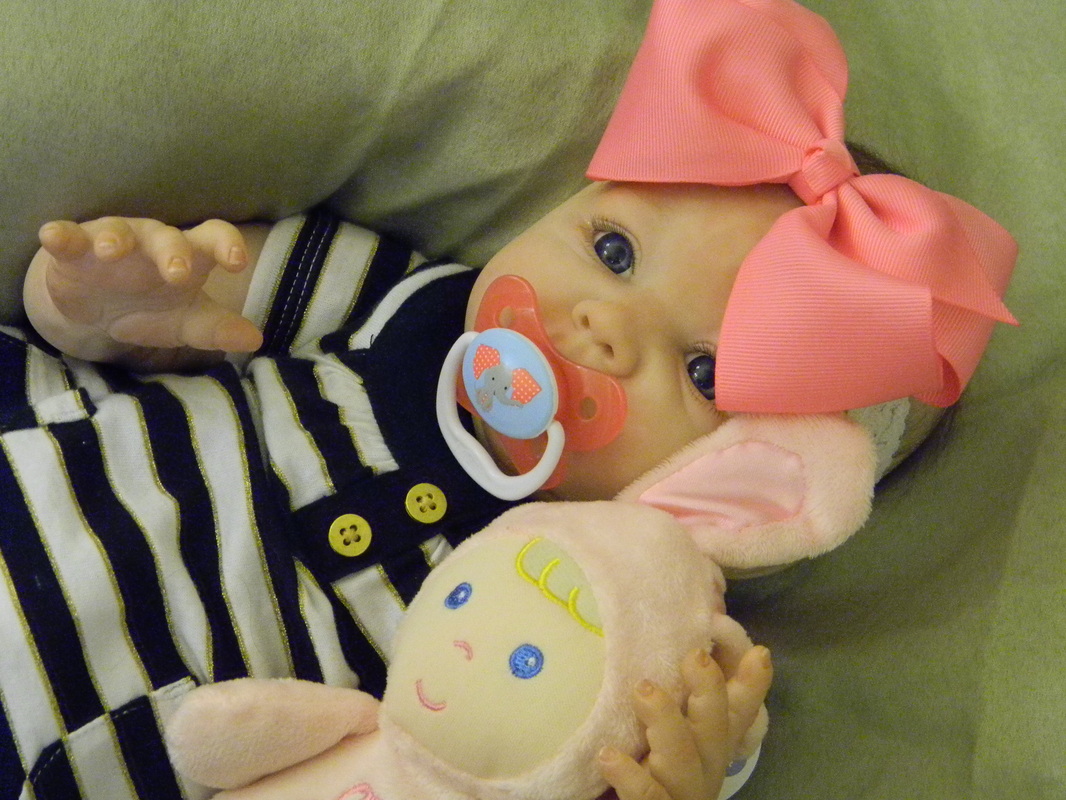
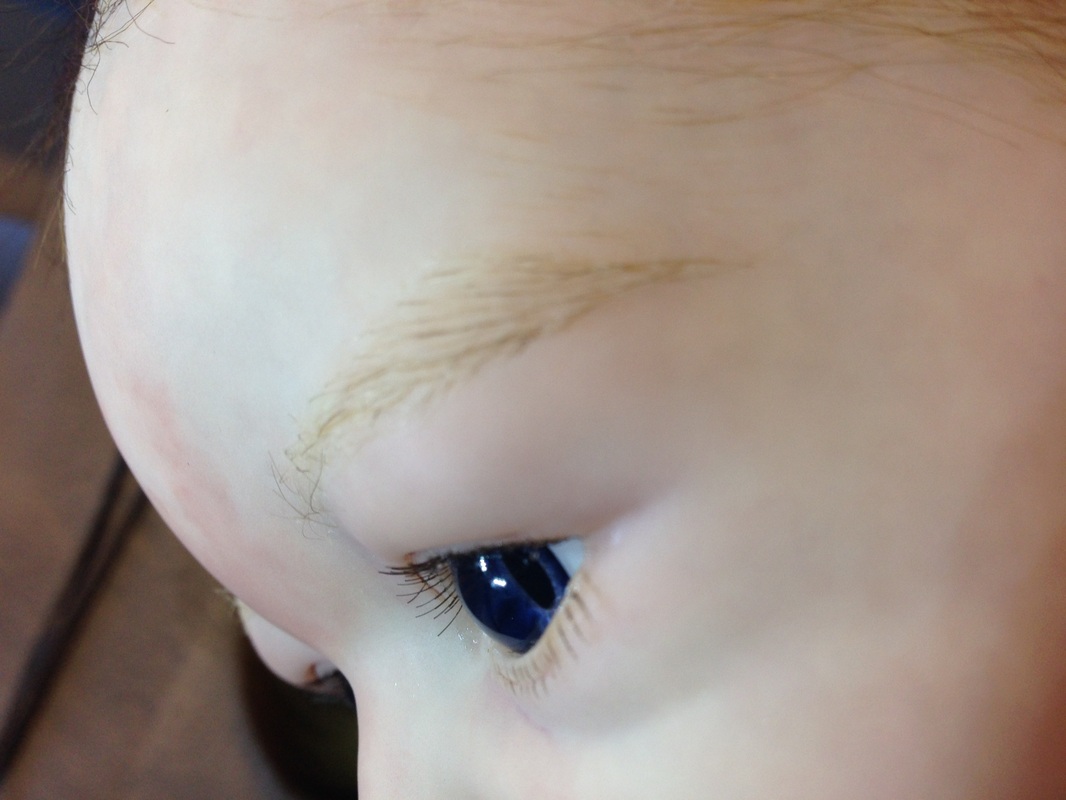
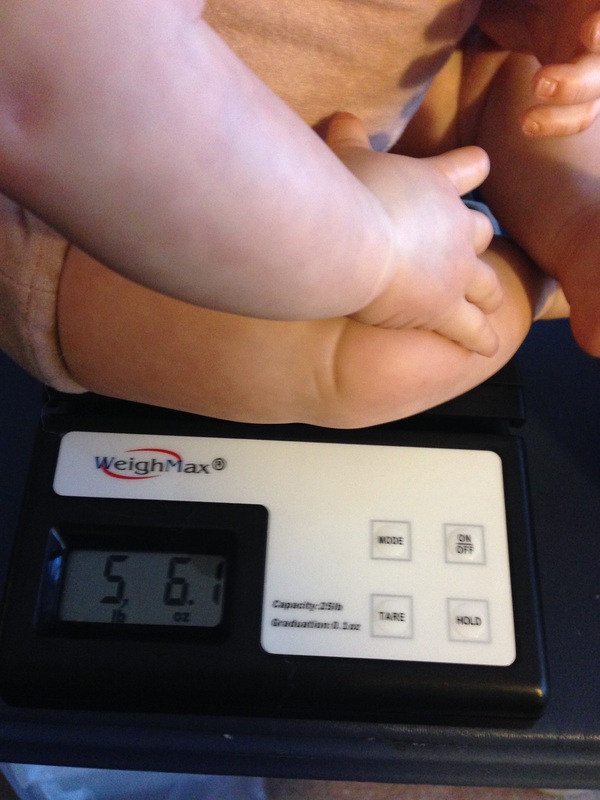
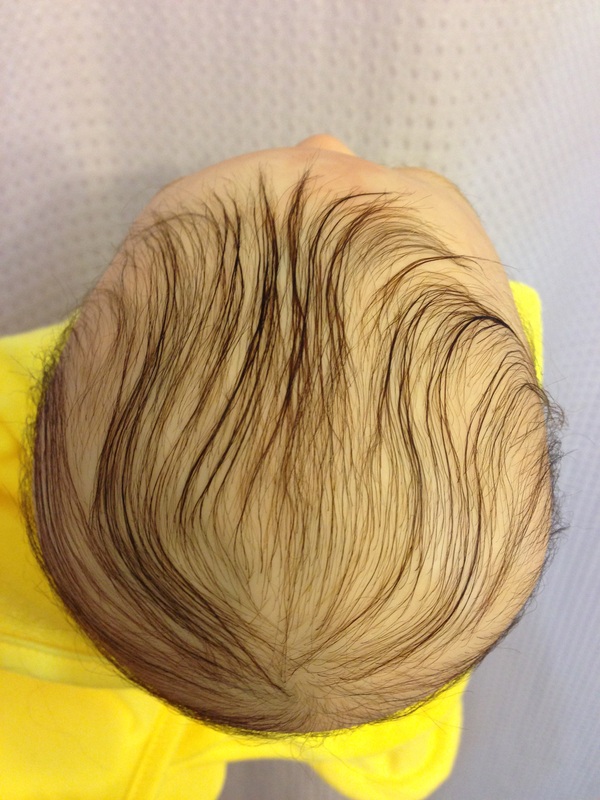
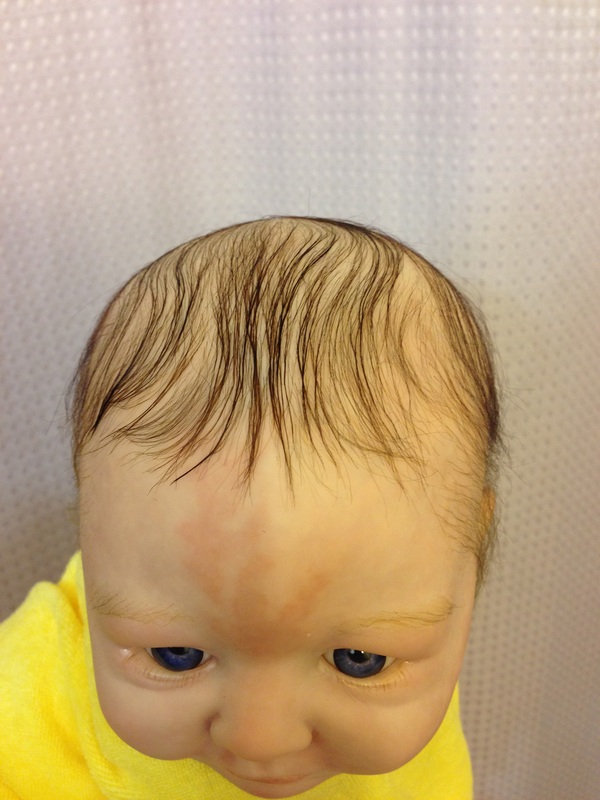
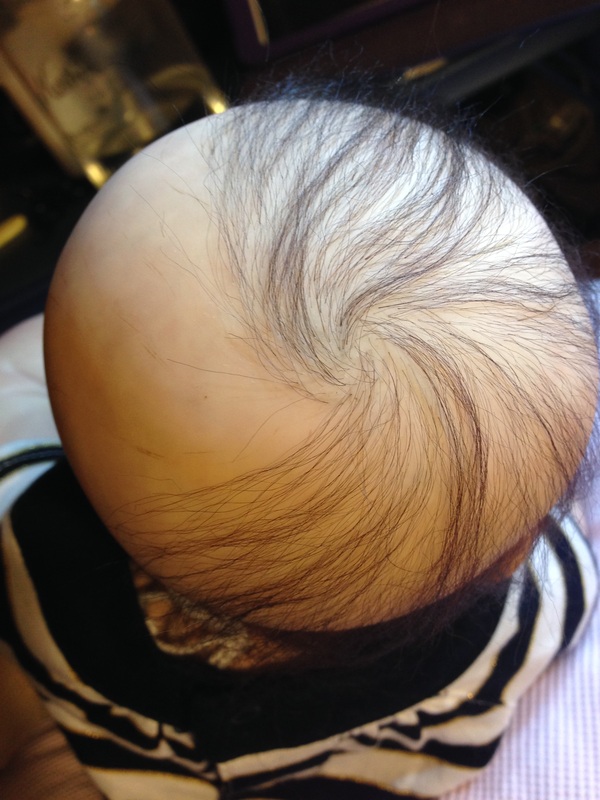
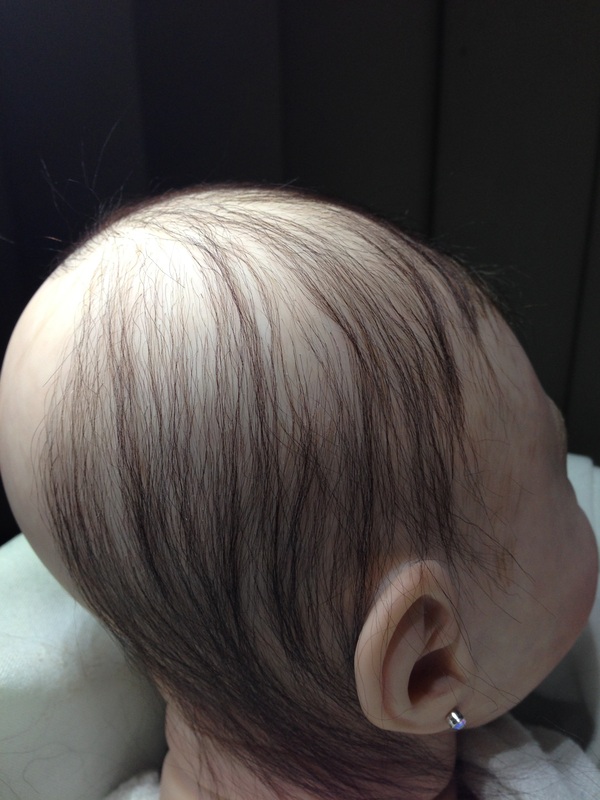
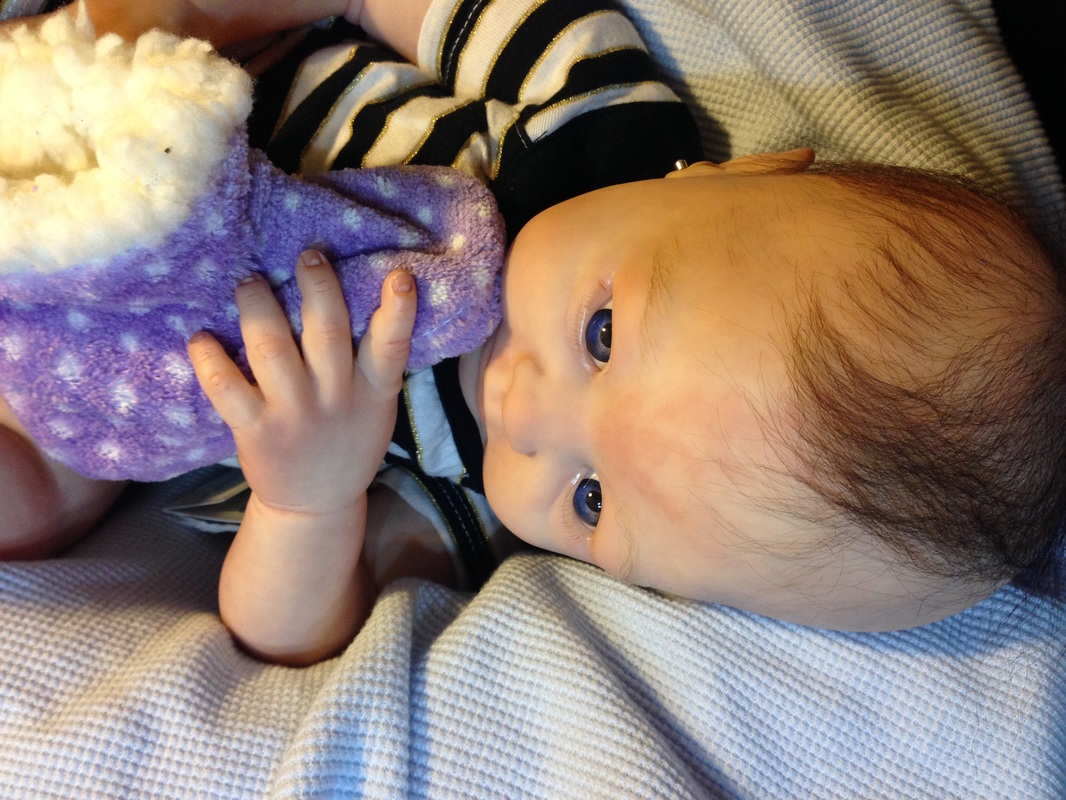
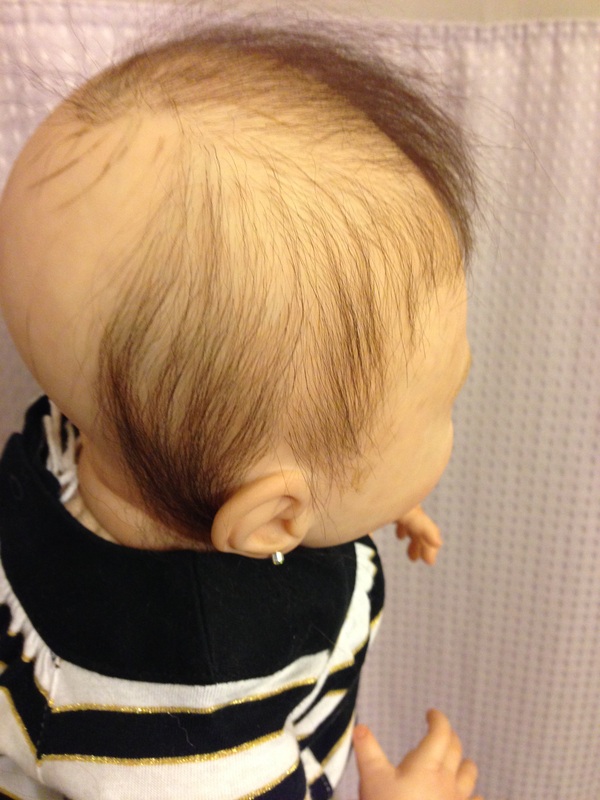
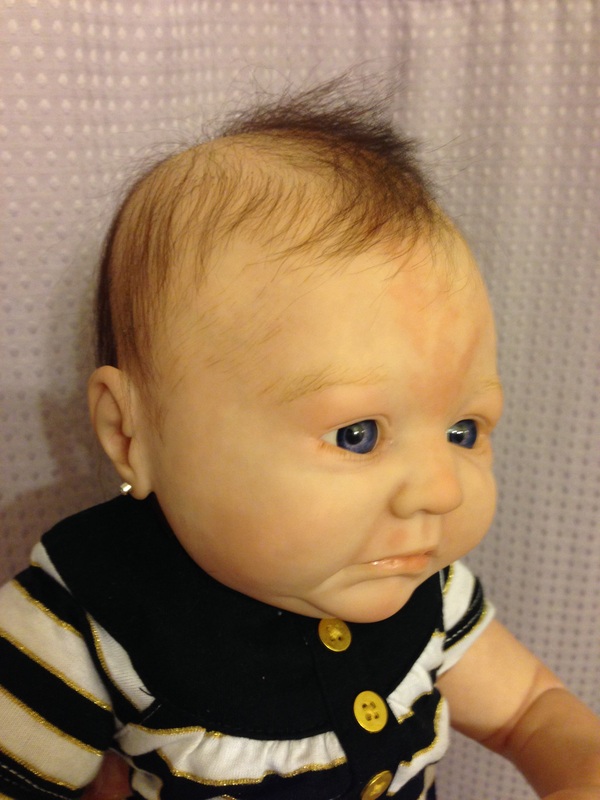
Last but not least, today was Picture Day! I must admit, it feels good to finally sit down! This little beauty was captured in over 250 photos. Careful editing and review will create the perfect album to capture #AlliePayton's sweet personality. Here are a few teasers! After several hours yesterday in the dehydrator, #AlliePayton was all dry this morning and ready for some finishing touches. I finished trimming up her hair and used an air dry paint to darken her eye lashes and eyebrows. Last, I did her weighting. Only the finest materials go into my Custom Doll Babies. And they are very scientifically distributed for lifelike cuddle optimization. :) Learn more about stuffing and weighting at: http://customdollbaby.com/1/post/2014/10/sugar-and-spice-and-everything-nice.html http://customdollbaby.com/1/post/2014/10/lets-talk-weighting-while-were-waiting.html All done! We still have a little more trimming to do, but #AlliePayton finally has a beautiful head full of fine, wispy baby hair. After baby's first shampoo, we are ready to add the finishing touches! To create natural-looking baby hair, we actually add the hair one to two strands at a time. Which makes rooting one of the slowest and longest steps in creating a lifelike baby doll. Still, we're making great progress around the back of the head...sloowly... LOL #AlliePayton Believe it or not, the hair isn't finished when the rooting is done. There are some things mohair cannot accomplish for us. One of which is the super fine hair that grows into the baby's face. So, we're rooting the parts that are thickest. But when the rooting is done, we'll go back and paint in those super tiny hairline hairs. In the meantime, #AlliePayton is enjoying a little break from all the rooting 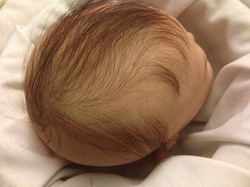 #AlliePayton's rooting is coming along beautifully. Yes, her hair is as soft as it looks. :)
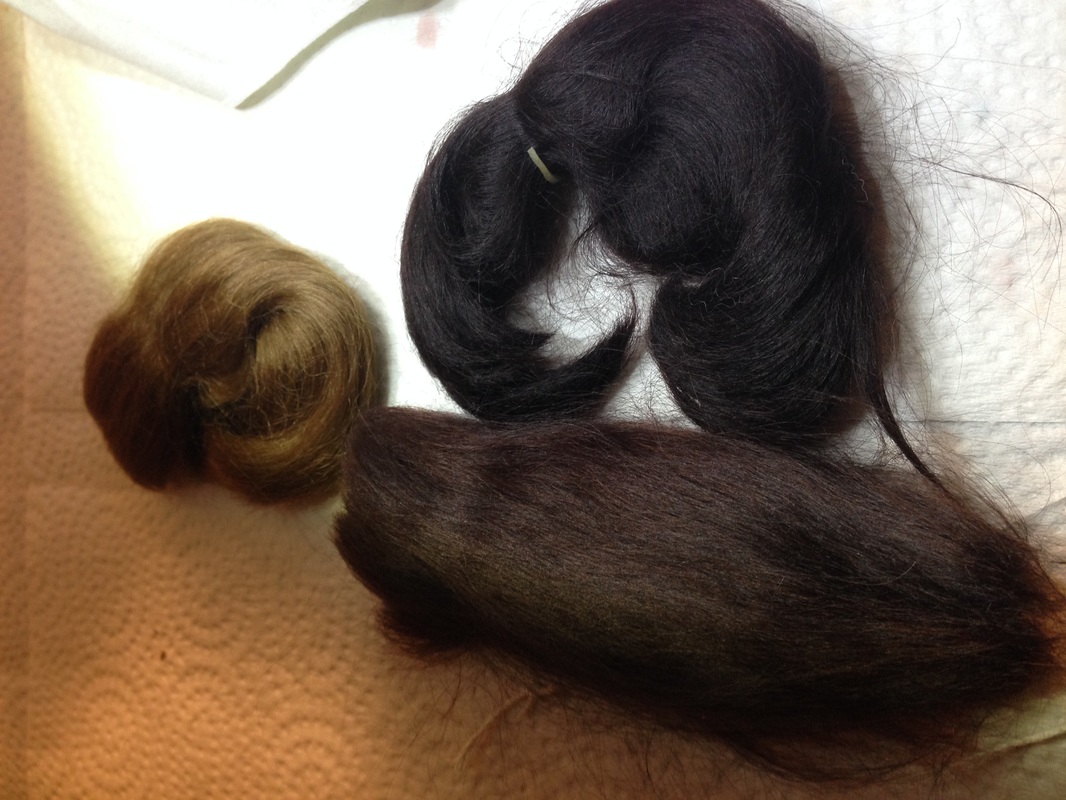
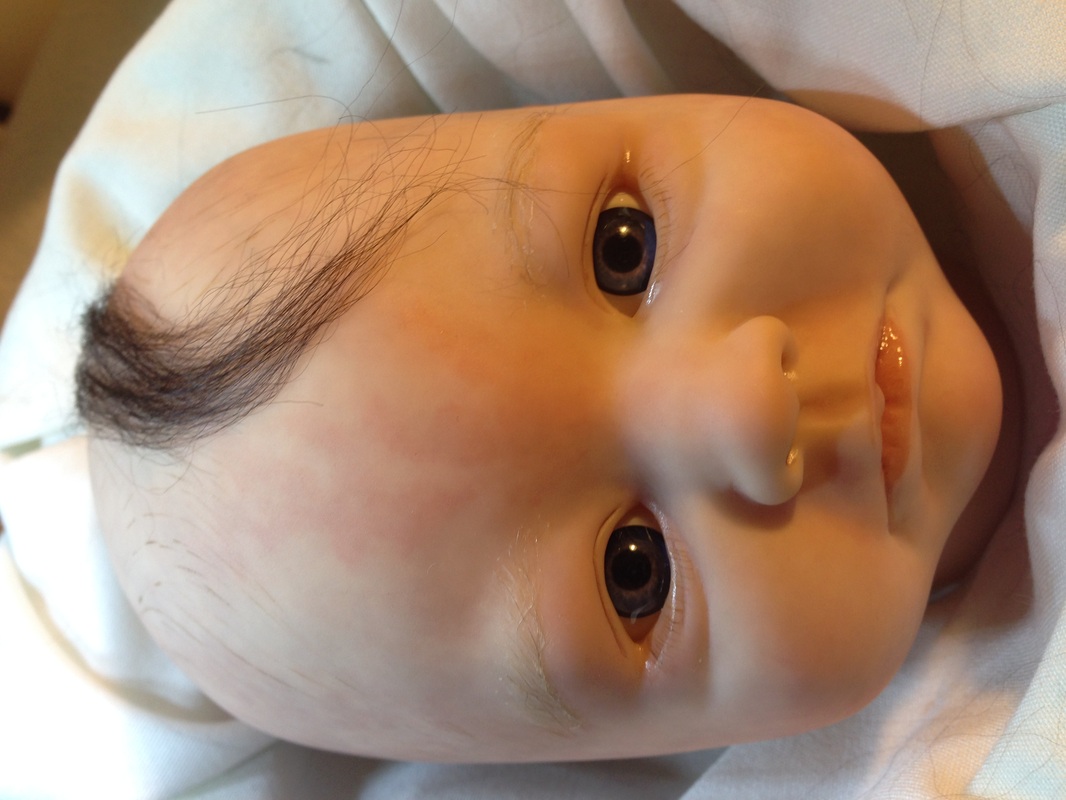
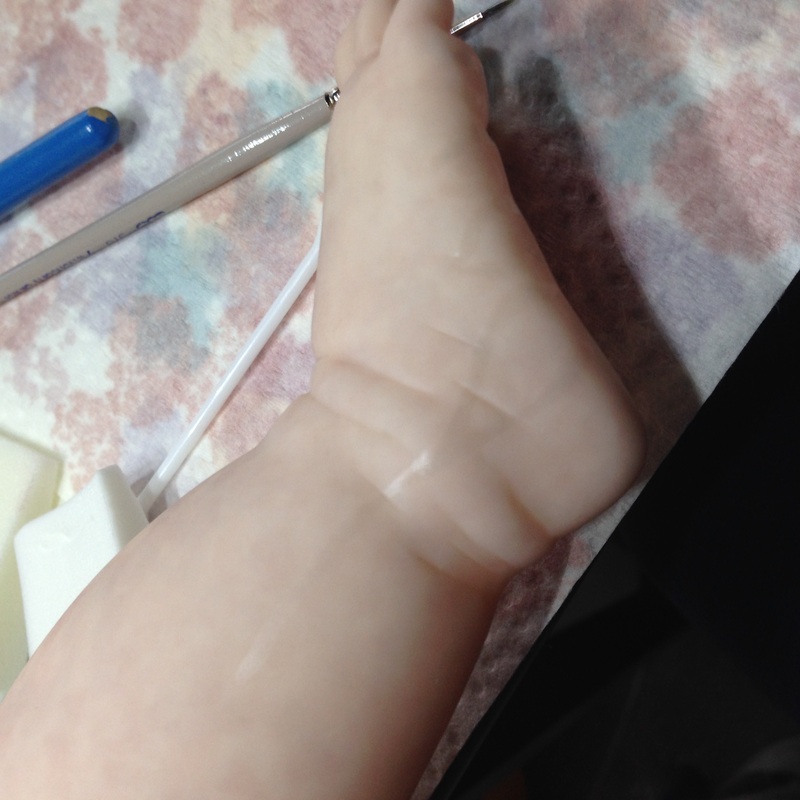
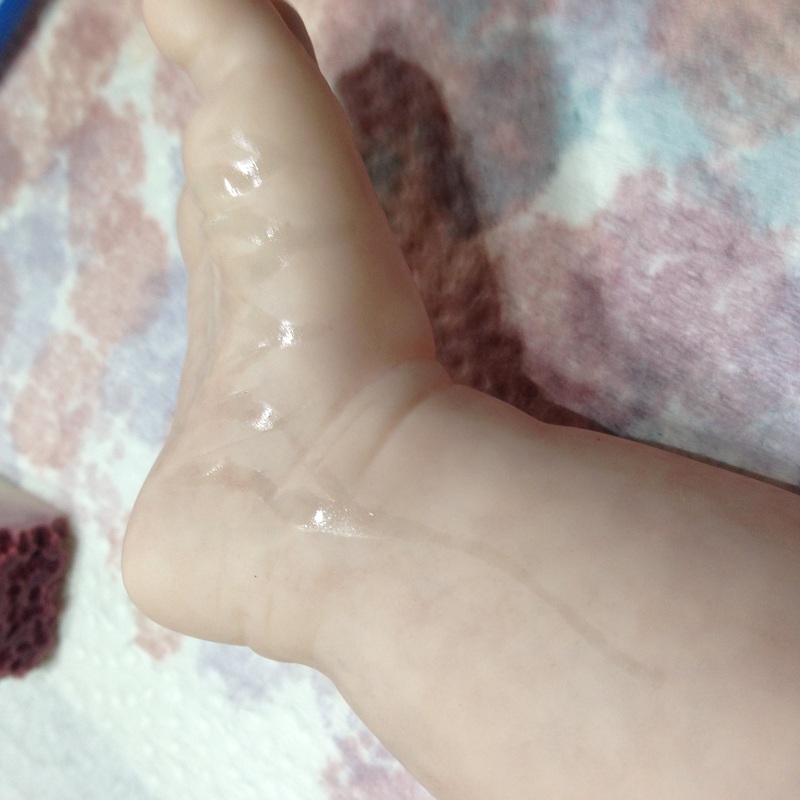
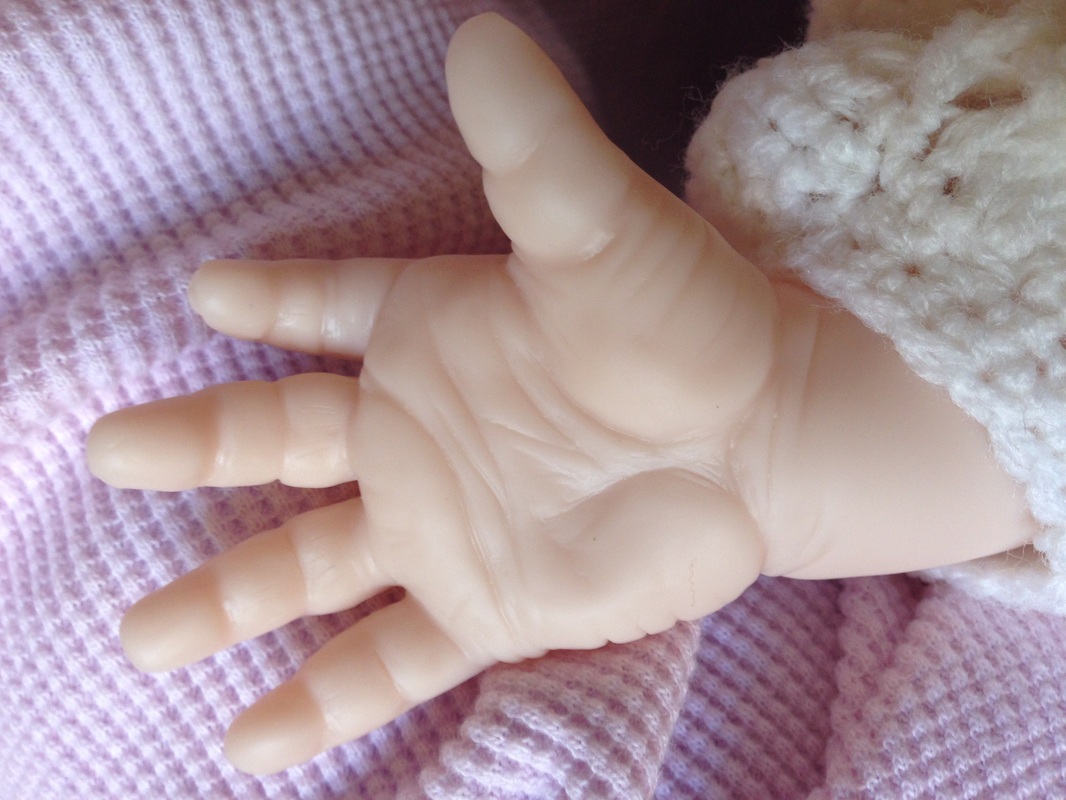
I'm loving it. Happy New Year! I had a wonderful Christmas vacation visiting family in NC. #AlliePayton got to visit my family too. While relaxing on vacation, we started the fun process of rooting! Now that I'm back home and feeling refreshed, we can start rooting in earnest. First, we paint out the hair growth pattern from the crown to the hairline. This guides the angle at which we'll root the hair. I like to start with the cowlick on the crown, then gradually work my way back to it from the hairline in strips. I started at the top of the head where the hair is thickest. We'll keep going in this pattern until we gradually make our way around the head. We use high quality mohair to create a super fine, soft head of baby hair. We're blending 3 colors (Light, Medium and Dark Brown) to create natural highlights and low lights. Check back soon as this lovely lady grows more and more hair! Per our tradition here at CustomDollBaby.com, once Allie Payton was finished with all her painting, we took some photos for her interim review. This gives us the chance to make sure all the blushing, creasing, veining, finger nails, eyelashes and even eyebrows are just right. 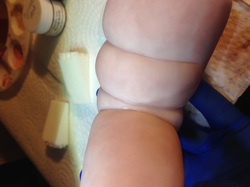 What could be sweeter than baby fat? ...I can't think of anything, which is why I'm going to spend the next couple of hours painting each one of Allie Payton's little wrinkles and creases. Darkening the creases creates the illusion of depth - making those little fat rolls even more plump and sweet.
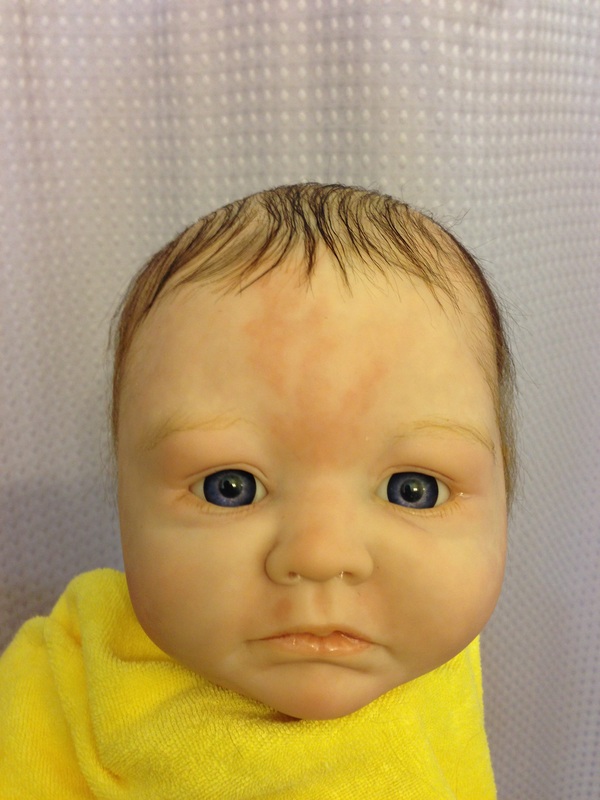
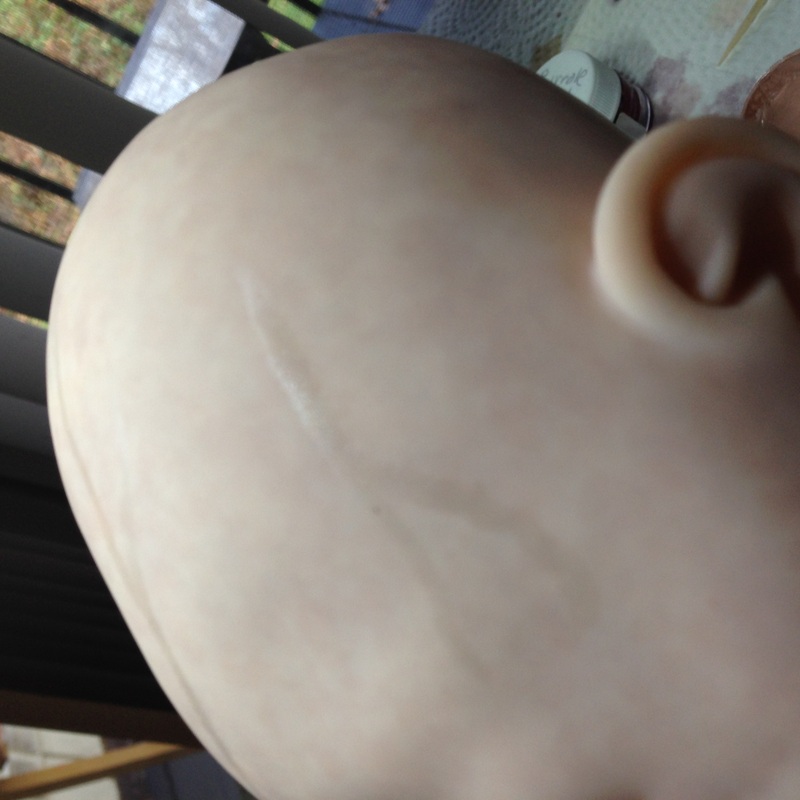
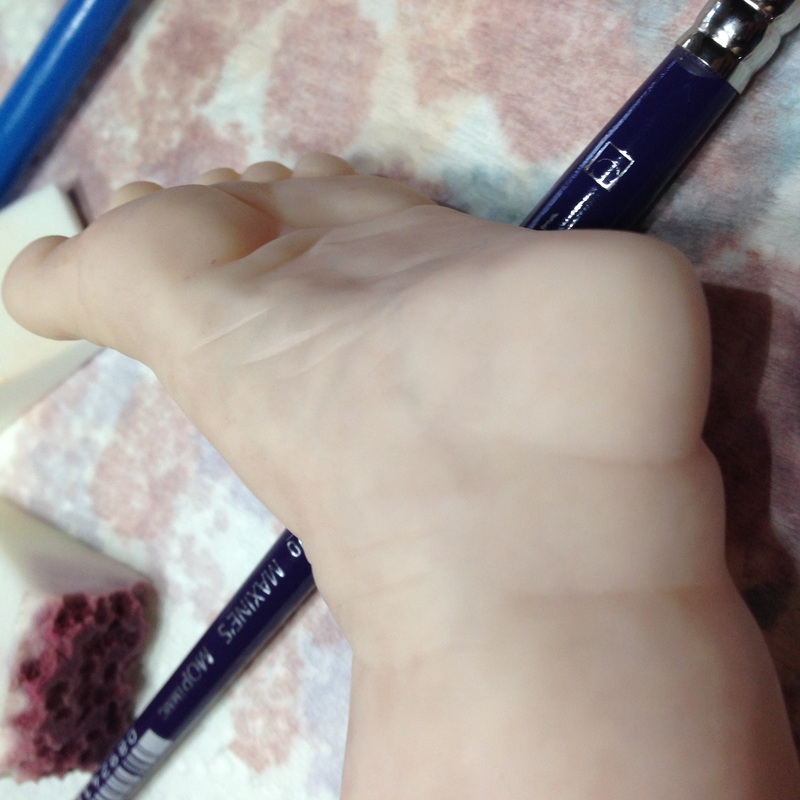
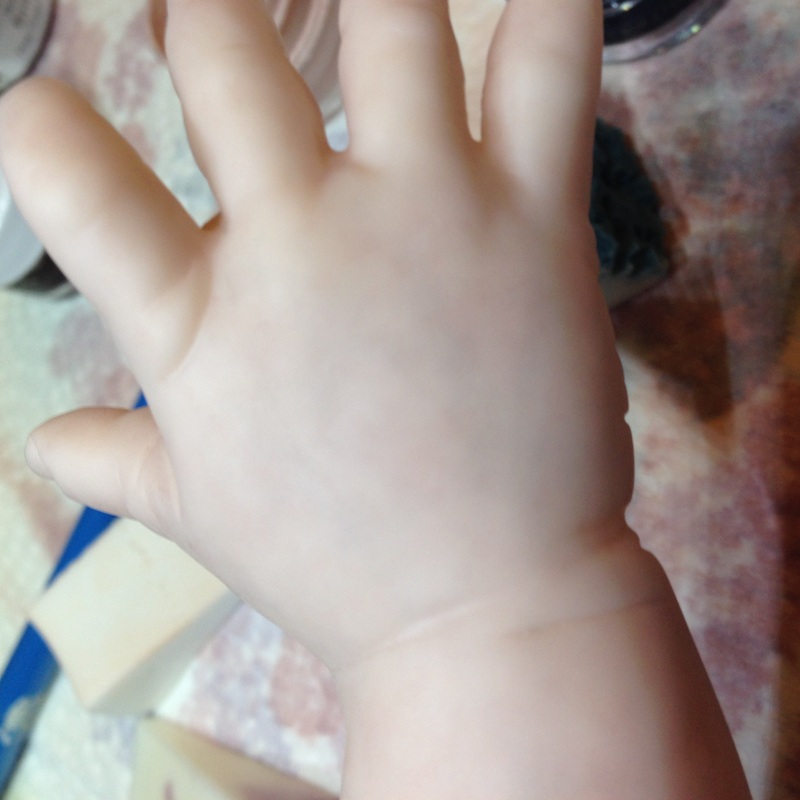
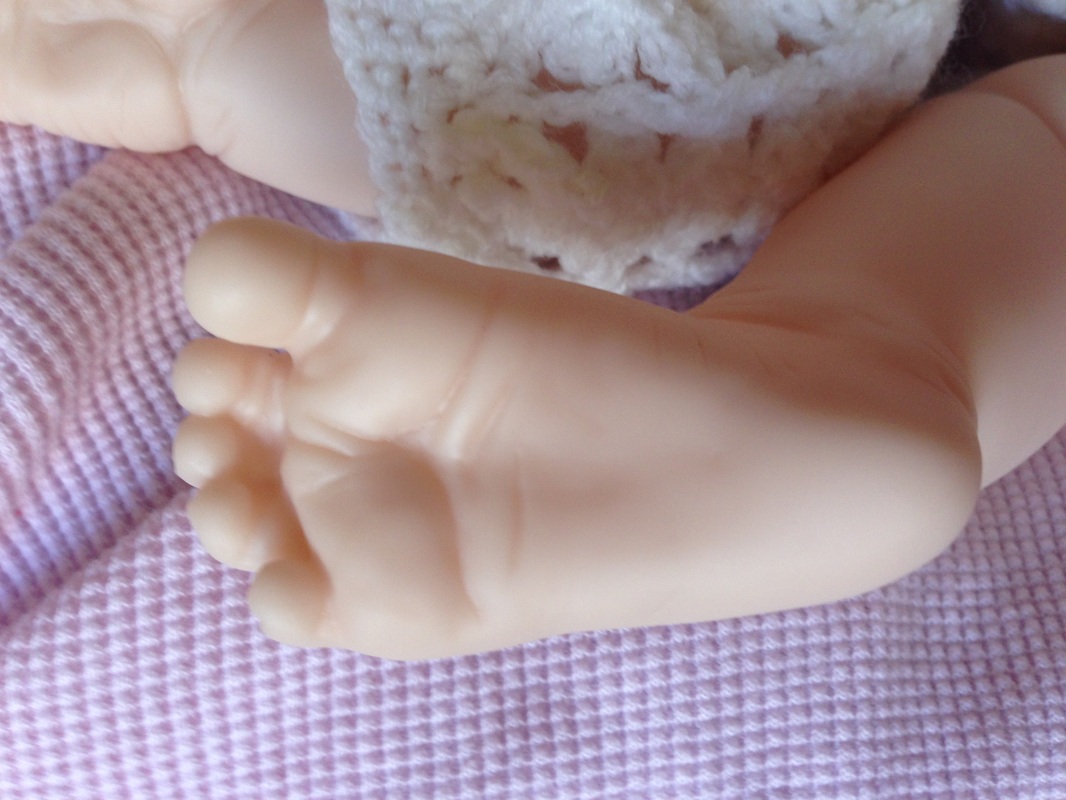
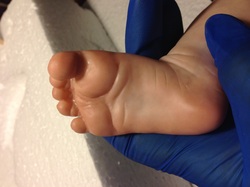 I love everything about creating lifelike baby dolls...but I especially love the blushing layers! Using rosy reds and peachy pinks, the blushing layers really bring out the lifelikeness in the hands and feet and the warmth of the face and cheeks. I like to start with low lights - adding a blood red color to all the vinyl parts to warm the skin. Then I come back later with a peach and pink color to highlight the really rosy parts - like fingers and toes, cheeks and nose. Allie Payton is an extra special baby with a birthmark on her forehead. So I carefully created a special birthmark color to replicate the exact position and pattern of the real baby's birthmark. What a sweetie! 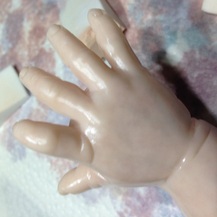 Time to add some skin! With the veins all done, Allie is now ready for her flesh tone layers. I love the rich peachy complexion of Flesh 08 on my babies.
We'll apply and cure a few layers of flesh tone to make our "under skin" work more subtle and lifelike. Each coat of paint takes about an hour to apply, dry and cure. So check back later for more Allie Payton updates!  If Dracula were a reborn artist, I imagine that this would be his favorite step. With the mottling complete and cured, we next paint on subtle blue vein patterns in the hands, feet and head. (It looks more gruesome when its wet.) Once dry and set, we'll just barely see those little veins under the skin. 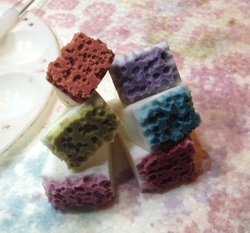 The magic of bringing a doll to life begins under the skin. Lifelike babies have many, many layers of transparent painting to create the appearance of warm living flesh. We started Allie Payton with a base coat of flesh tone. This allows the layers that follow to adhere better to the vinyl. Next, we add the mottling layers. I use sponges that I hand plucked to create skin textures. Each color has a different pattern. Then, layer by layer, we add transparent layers of reds and blues to bring the skin to life. Check out Allie's progress and Wyatt's time lapse mottling video! Allie Payton's Progress Photos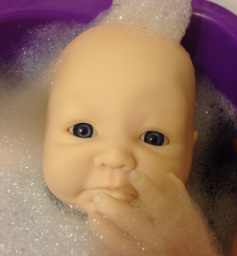 Before we start painting, the baby first has a bath. A warm, soapy dish detergent bath helps to remove any machine oils, dirt or other impurities that may interfere with the painting. I even use a clean toothbrush to scrub those hard to reach places. After the warm bubbles comes a second bath in rubbing alcohol (brrrr!). This guarantees smooth, even painting. Now that the baby is all clean, this is the last time I'll ever touch her with my bare hands until the painting is finished. 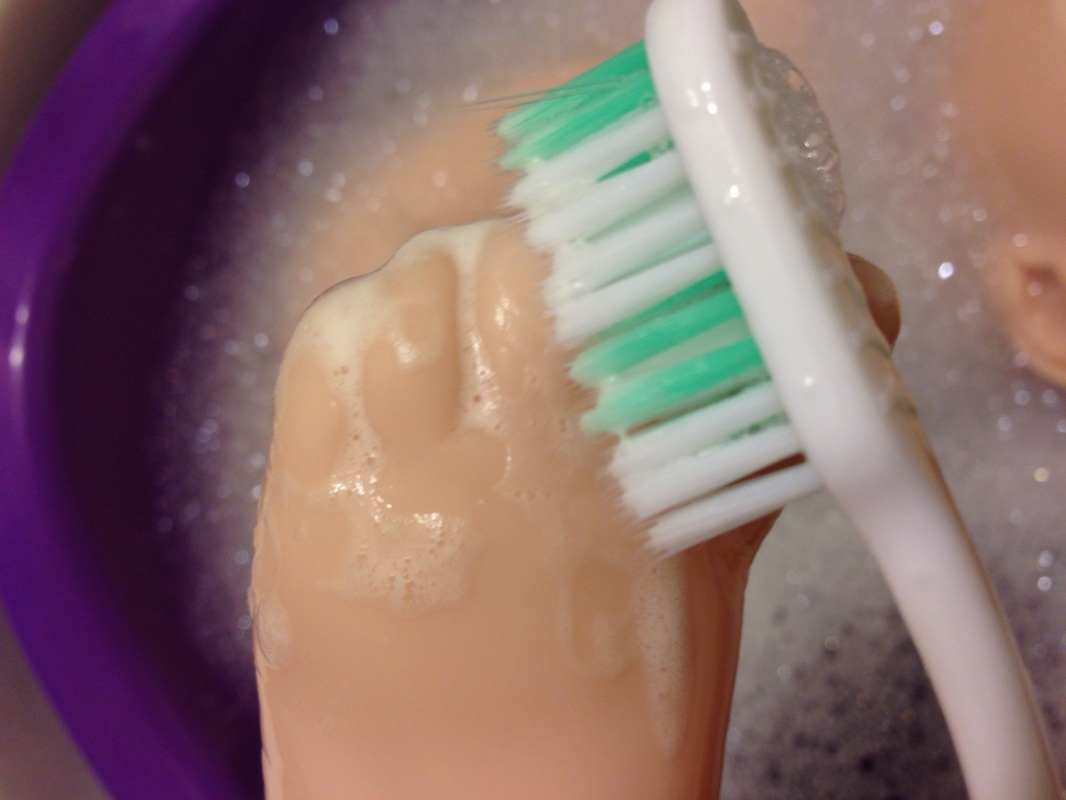
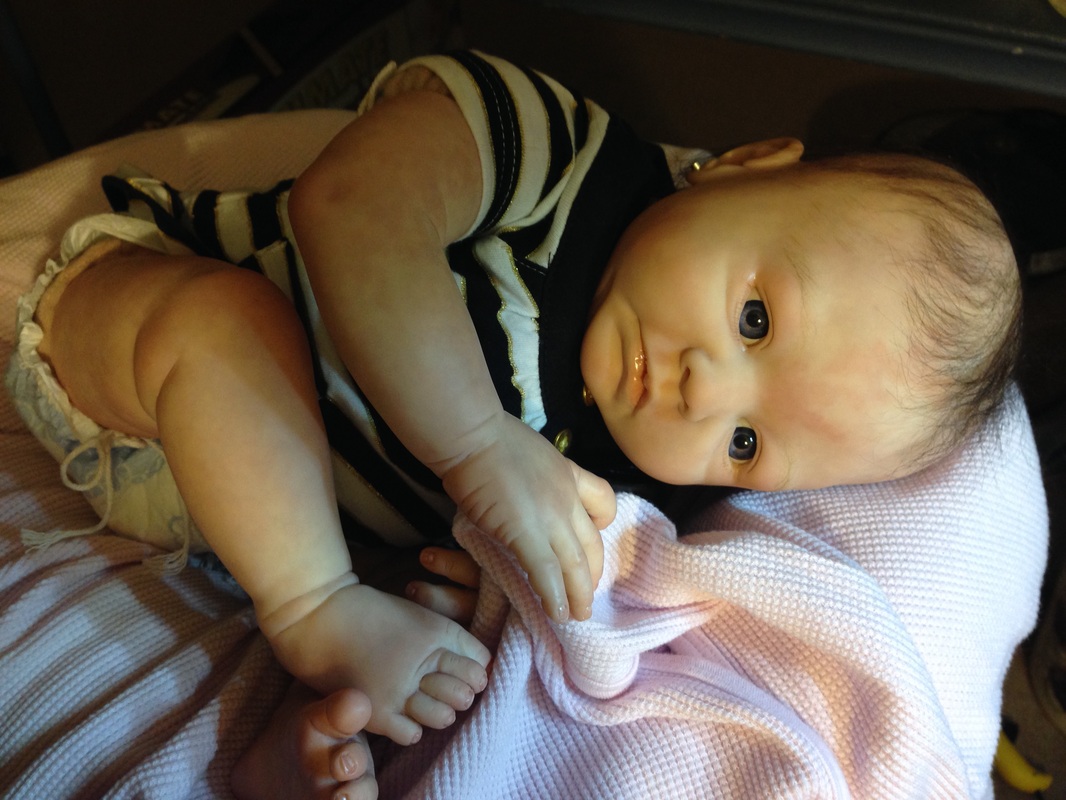
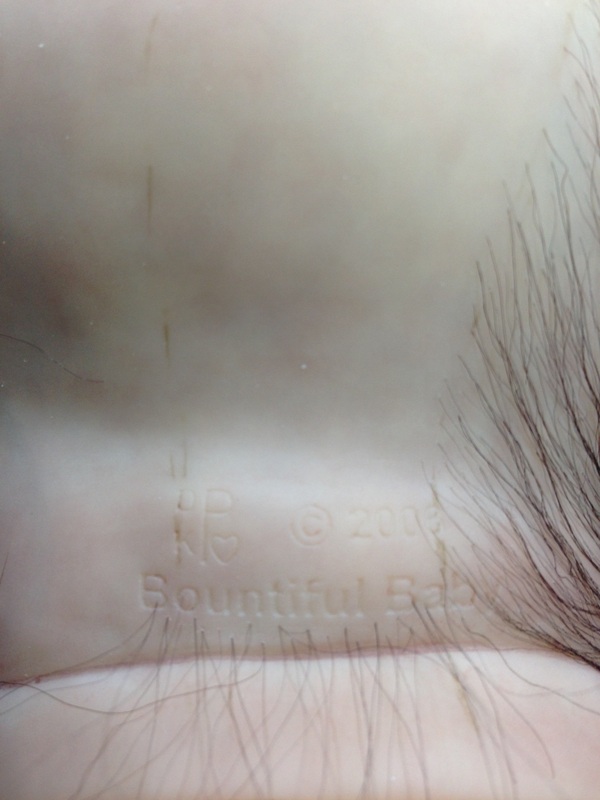
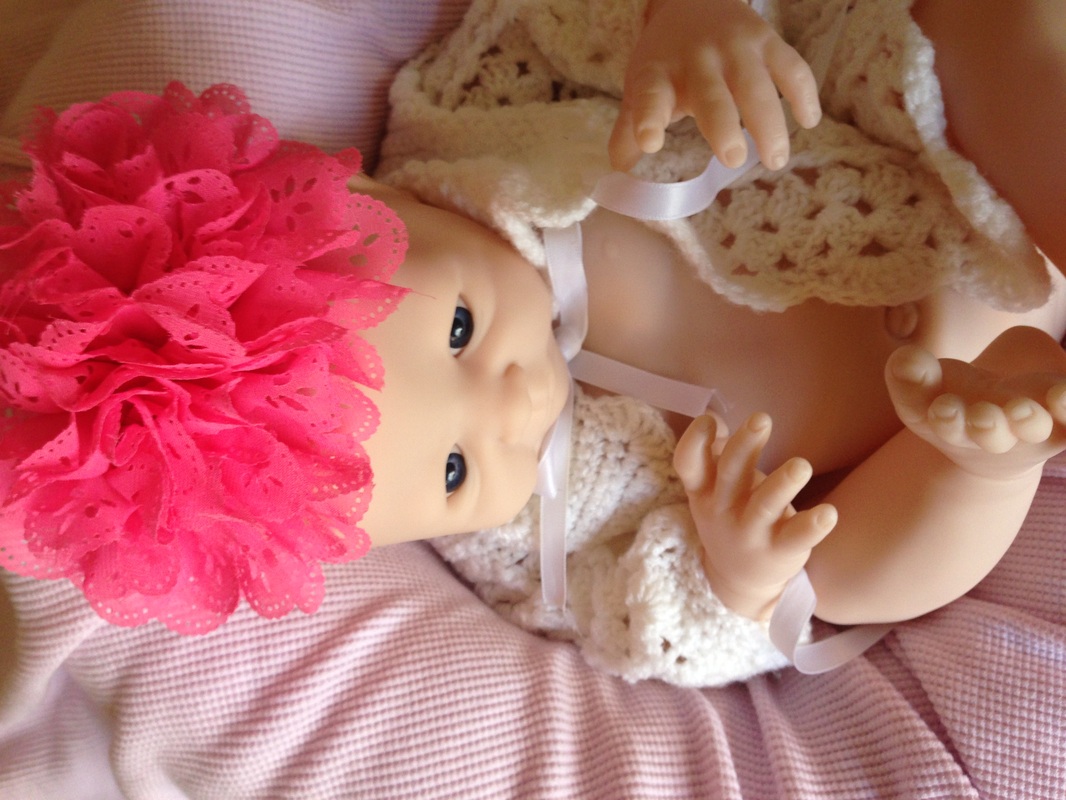
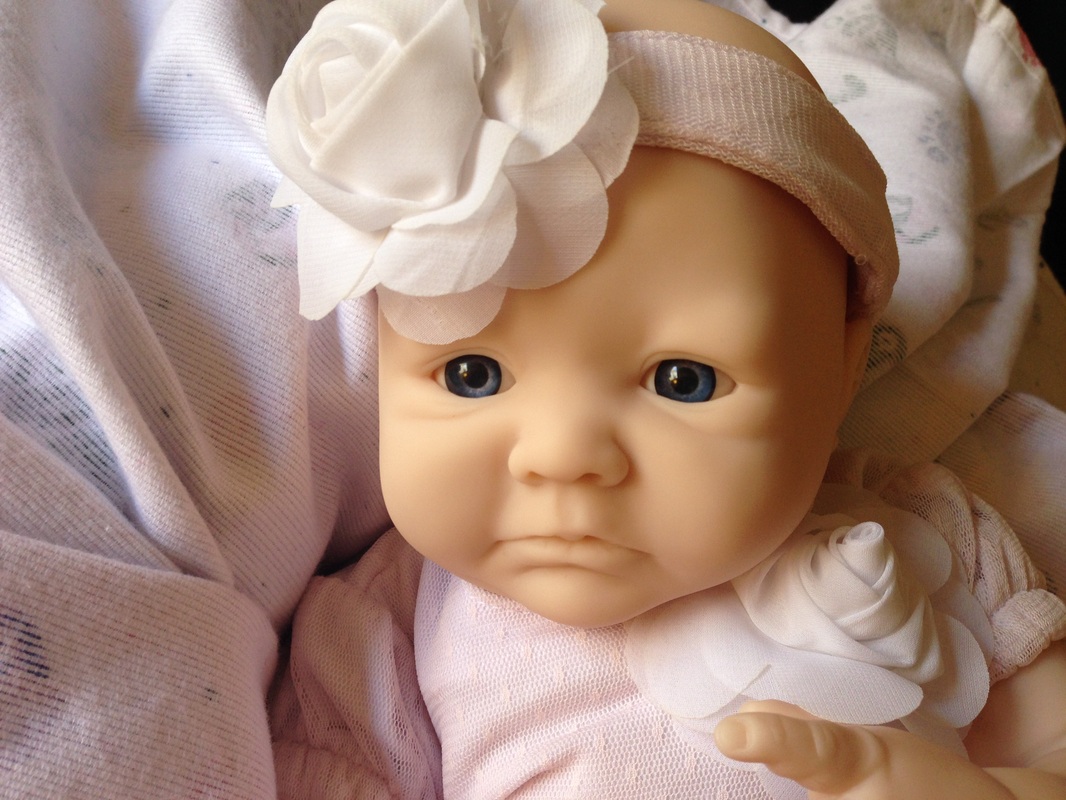
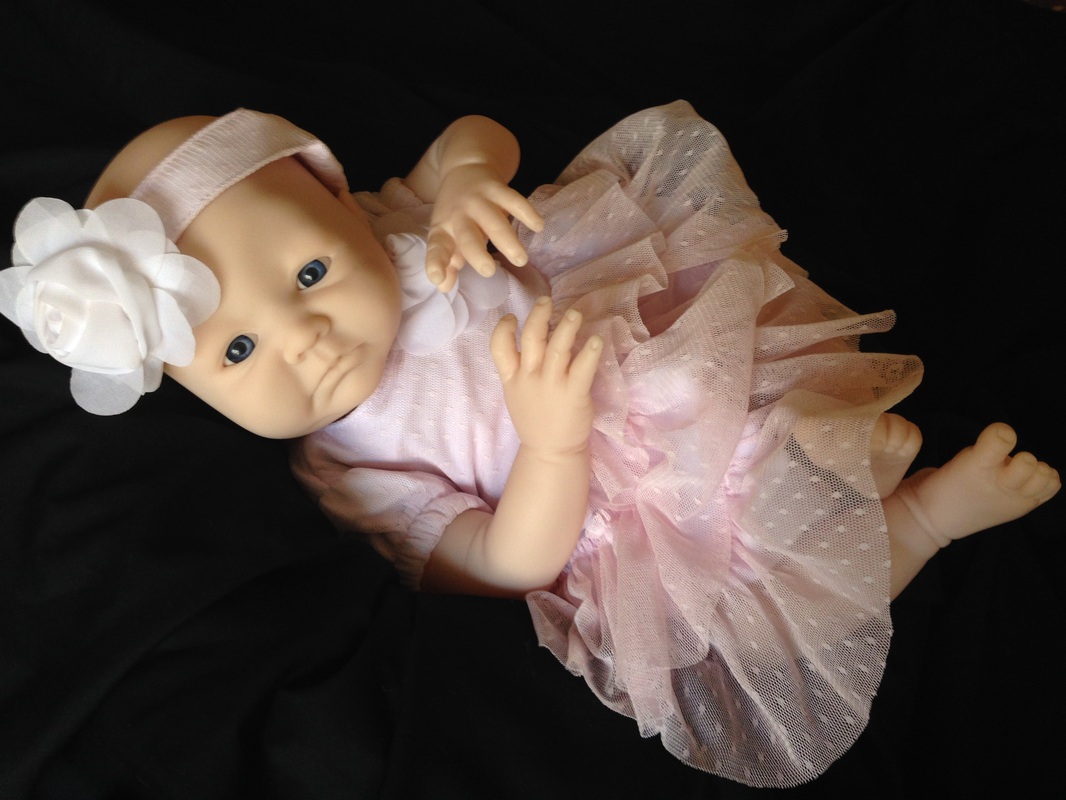
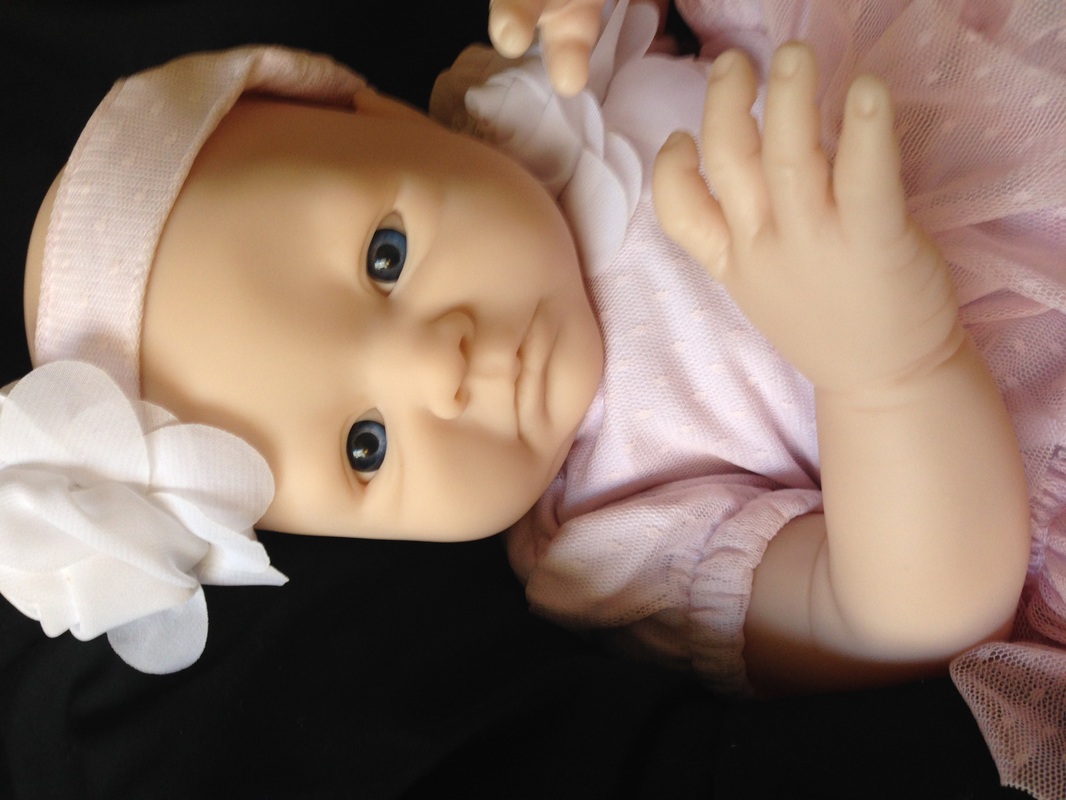
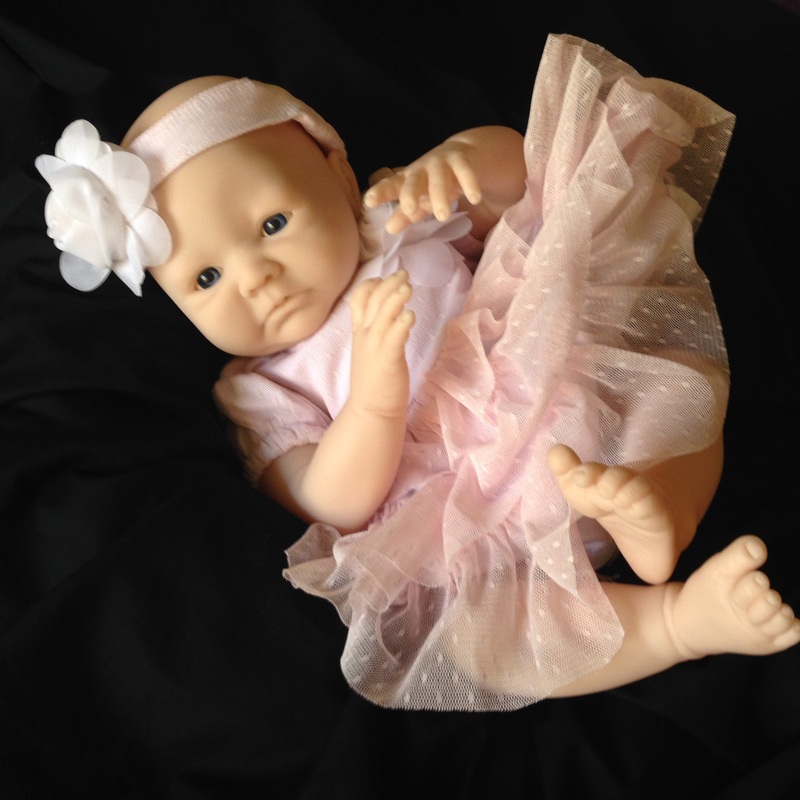
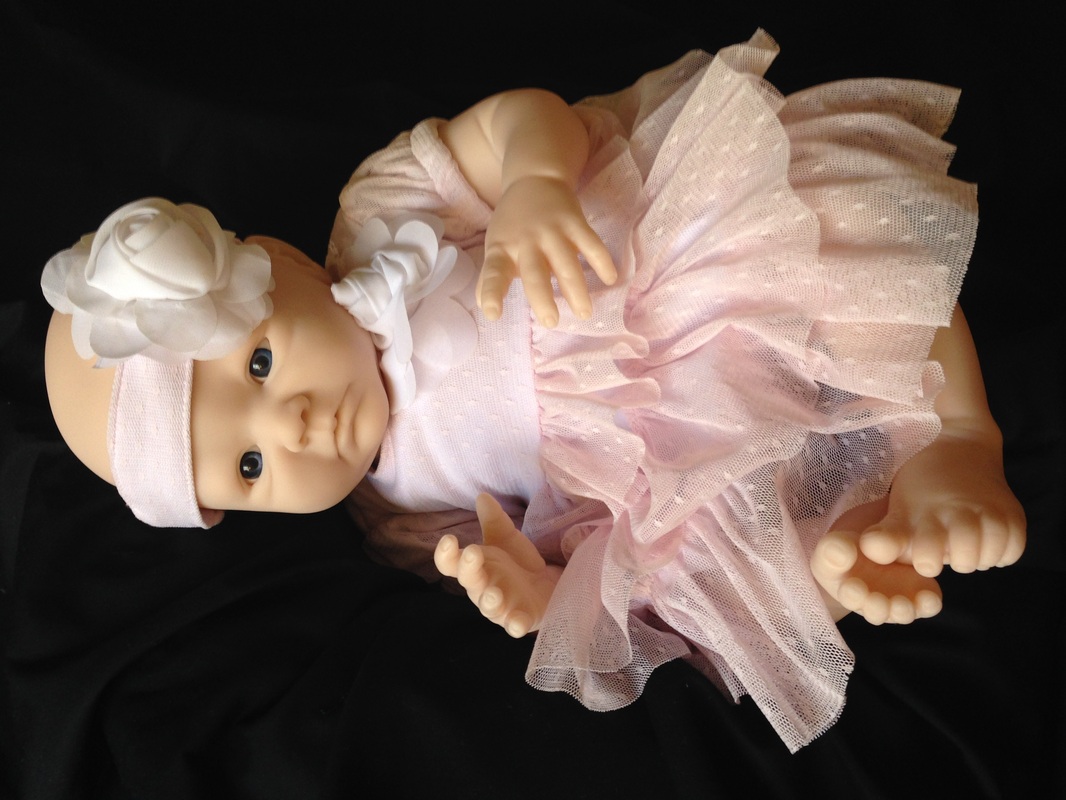
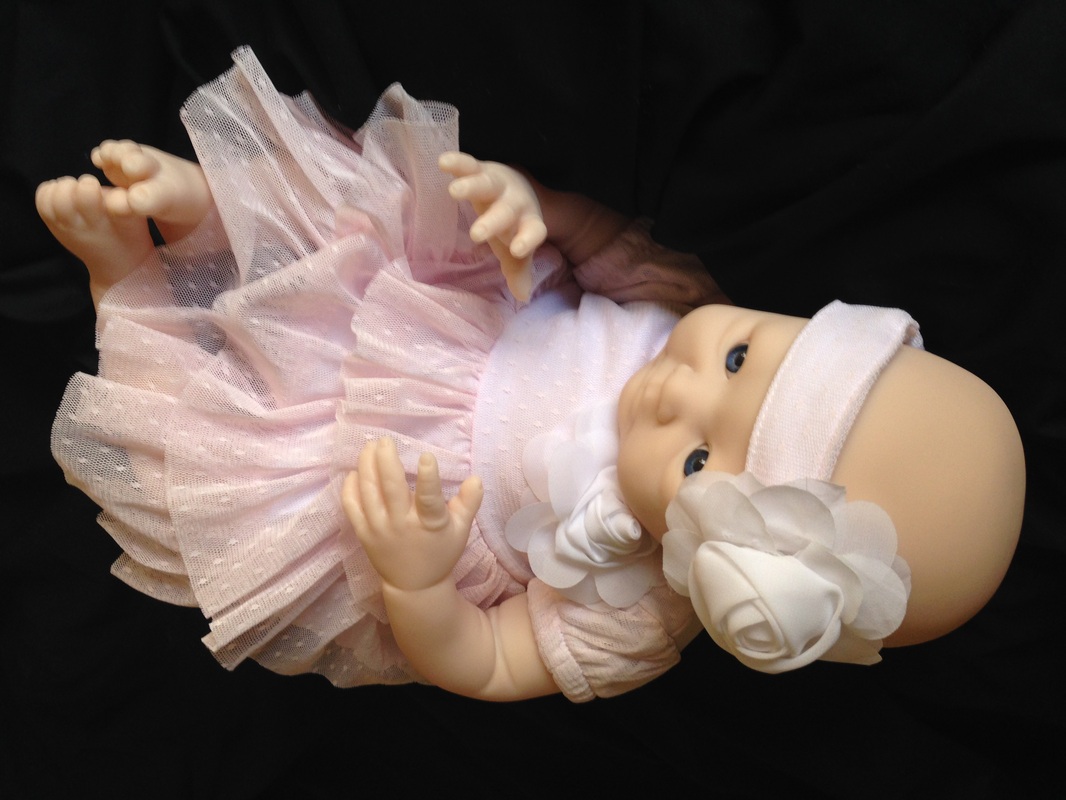
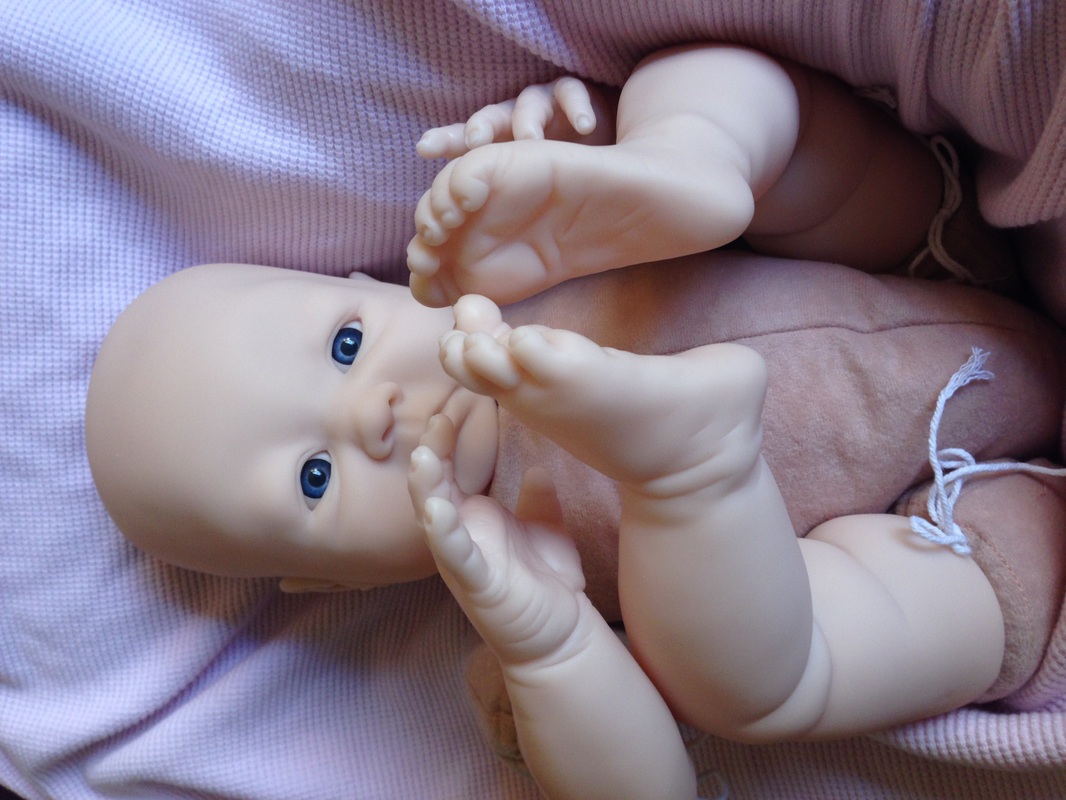
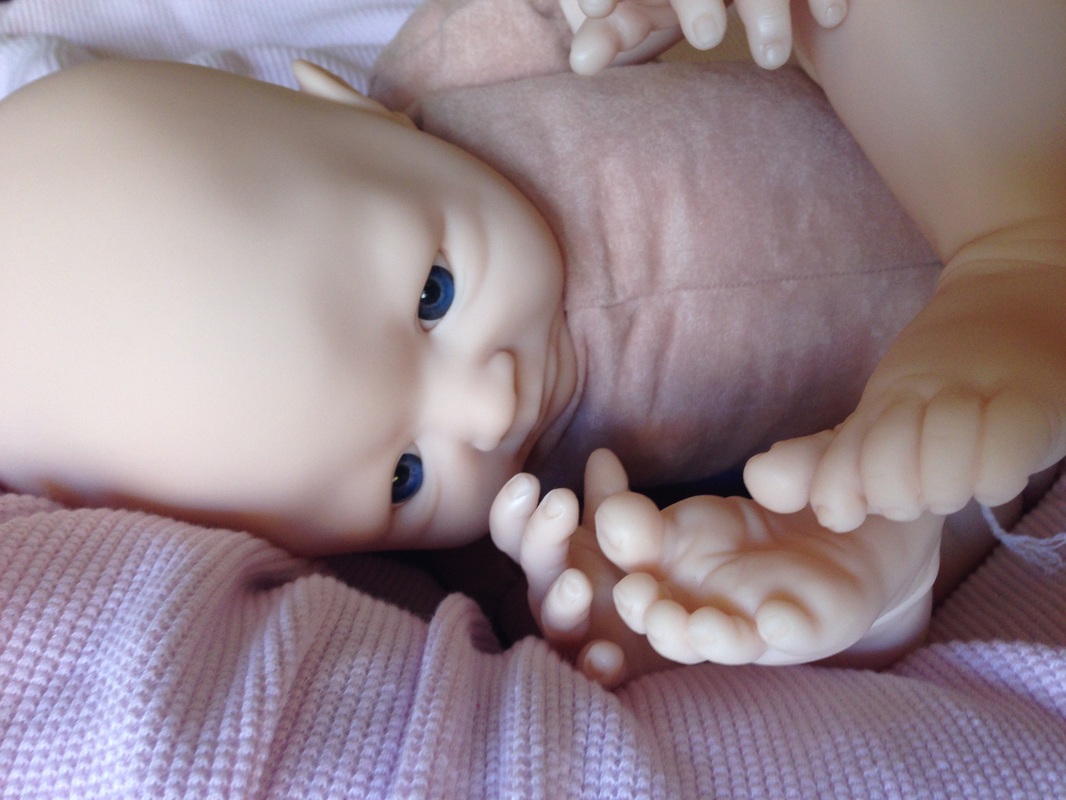
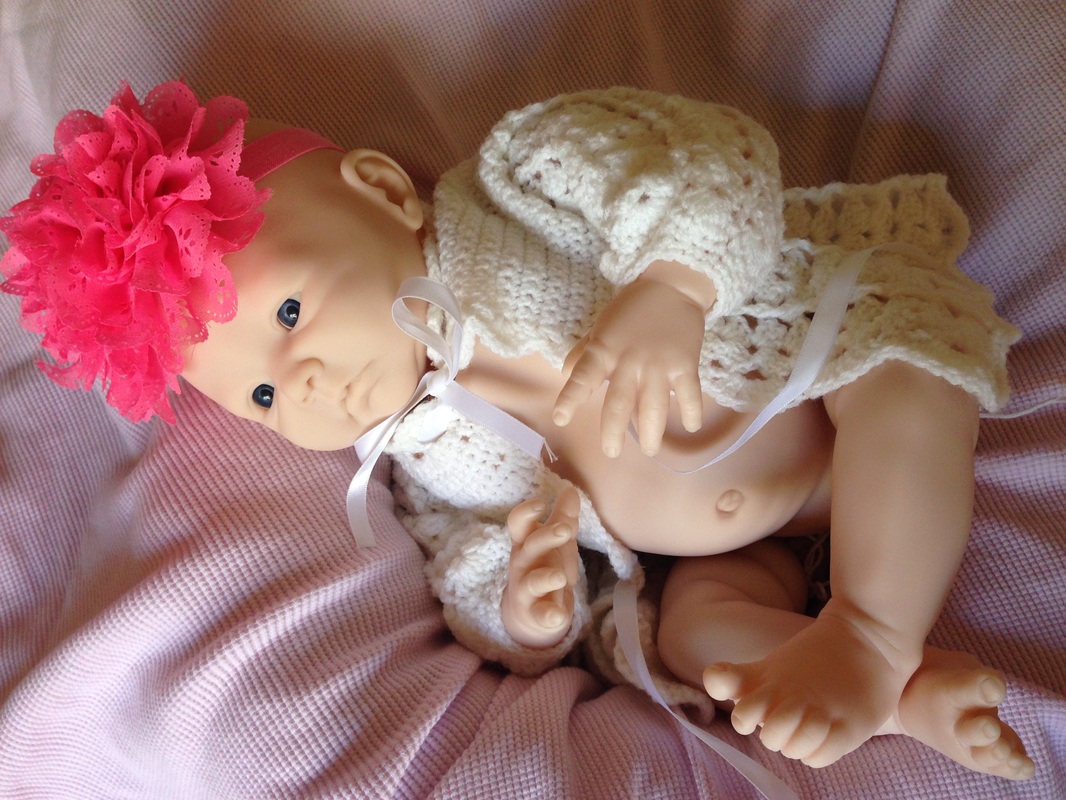
We're so excited to begin the beautiful portrait baby of Allie Payton based on Aubrey by Denise Pratt! Here are her before photos. I don't typically do so much wardrobing in the before photos shoot, but she's such a little sweetheart that I couldn't resist the urge to keep changing her clothes! Keep checking back for more updates as we transform this doll into a baby! |
Reborn Doll Babies
All
Reborn Doll ArtistHi! My name is Kim. I am a reborn artist based in NC. I have been creating dolls since I was a child. I discovered the art of life-like baby dolls in 2011 and have been reborning ever since. Archives
December 2016
|


 RSS Feed
Home | Custom Dolls | Portrait Dolls | Pricing and Payment | Contact Us
Promotions | Reborn Baby Doll Care | Vote for Us
Promotions | Reborn Baby Doll Care | Vote for Us
Reborn Dolls distributed by CustomDollBaby.com are high-end collectibles not intended for children under age 12
© 2017 Custom Doll Baby, Inc.
© 2017 Custom Doll Baby, Inc.